How to Grow Cat Grass Indoors: A Practical Care Guide
Grow a manageable indoor crop with a labeled seed or kit, a suitable container and careful watering. This guide covers sprouting, first use, common problems and replacement.

This article contains affiliate links. Webvet may earn a commission when you buy through them, at no extra cost to you.
Learning how to grow cat grass starts with a small container, clearly identified cereal-grass seed and a way to keep the growing medium moist without leaving it waterlogged. The aim is a fresh, rooted crop your cat can investigate, not a houseplant that lasts forever.
A complete kit simplifies the first attempt because its seed, medium and container come with matching directions. If you are starting from loose seed, use the packet's sowing instructions. Different containers and growing media hold different amounts of water, so a fixed daily watering schedule is less useful than checking the pot.
Choose seeds a container and growing medium
Use potting soil for cat grass only when the selected seed or kit instructions call for it. An organic potting-soil label does not by itself establish that every additive is suitable for a cat-accessible pot. Keep the product label and choose a growing medium intended for the method you are following.
An Imperial Cat Easy Grow Oat Grass Kit keeps the first batch tied to one set of growing directions. Follow its container and moisture instructions from sowing onward.

An oat-grass growing kit for starting a small indoor tray. Follow the kit’s watering and growing instructions.
Webvet may earn a commission when you click through to Chewy, at no extra cost to you.
Start a small batch, keep it out of your cat's reach while it establishes, and check moisture rather than watering automatically. Offer healthy rooted growth, remove deteriorating grass and start a fresh pot when the crop is exhausted.
Use seeds sold for growing cat grass with the plant identified on the package. Wheat, oats and barley are common choices. Avoid substituting unknown garden seed or a lawn-seed mixture. Keep the packaging so you can check growing directions and treatment information later.
Choose a container you can clean and inspect. Drainage makes excess water easier to manage. A small nursery pot inside a heavier outer pot can work if you remove the inner pot to water and empty the catch container. A solid decorative container requires more careful water control because surplus water has nowhere to go.
Gather what you need before opening the seed:
- An identified seed packet or complete growing kit.
- The recommended clean growing medium.
- A container and a tray to protect the surface beneath it.
- Water and a small measuring container if the kit specifies a quantity.
- A bright location your cat cannot reach during germination.
Do not add fertilizer, pesticide or decorative gravel simply because you would use it for another houseplant. Follow the kit or seed instructions for a crop your cat may chew. A grass pot is not a suitable place to experiment with unneeded additives.
Can you grow cat grass without soil?
A hydroponic cat grass planter grows the crop without ordinary potting soil. Some systems use a growing mat or another soilless medium. Use a system intended for that method and follow its directions. Removing soil does not remove the need for moisture control, clean equipment and a way to keep the seed bed stable.
Loose stones, exposed seed and stagnant water can create new practical problems around a curious cat.
For a first batch, choose the method you can inspect most easily. A simple draining pot may be more manageable than an improvised glass jar. Our cat-grass guide covers whether grass suits your cat and how it differs from catnip; neither is a required part of an otherwise appropriate diet.
Choose one growing method and keep its steps together
| Method | Where moisture is held | Daily check | Common mistake |
|---|---|---|---|
| Draining pot with suitable planting medium | Within the medium; excess can drain | Surface condition plus water in the catch tray | Leaving the pot standing in collected water |
| Compressed coir kit | In the expanded growing disc | Whether the medium has begun to dry | Repeating the initial expansion-water quantity every day |
| Purpose-made hydroponic planter | Reservoir and roots, without ordinary soil | Water freshness and the prescribed root/water level | Treating a water reservoir like a soil pot |
The Cat Ladies’ current growing directions illustrate the difference: its coir instructions hydrate the disc with about 5–6 ounces of warm water, then lightly cover the seeds. Its hydroponic directions instead soak seeds for about six hours and change reservoir water daily. Follow the instructions supplied with your exact kit.
Do not combine the two methods. Daily reservoir replacement is not a reason to flood coir, and a soil kit’s first watering is not a refill level for a hydroponic container. Keep the method and container constant for the first batch so a growing problem has fewer possible causes.
Sow and sprout the grass
To plant cat grass seeds, prepare the clean container and growing medium before opening the packet. The sowing depth, initial moisture and covering instructions belong to the specific seed or kit. Follow those together rather than mixing a soil-kit water quantity with a hydroponic planter.
The Frisco Natural Cat Grass Growing Kit is another complete-kit option. Keep its growing medium and directions together so watering quantities are not borrowed from another product.
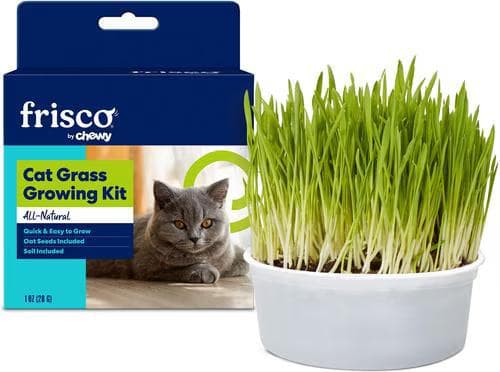
A complete grass-growing kit for starting a fresh pot using its matched directions.
Webvet may earn a commission when you click through to Chewy, at no extra cost to you.
Start with a clean container and prepare the medium as directed. Spread the seed evenly rather than piling it into a dense mound. If the instructions call for a light covering, keep it light enough for the shoots to emerge.
More seed does not automatically produce a better crop; overcrowding can make the surface difficult to inspect and keep evenly moist.
- Moisten the medium according to the kit or seed instructions.
- Distribute the recommended amount of seed over the surface.
- Add the specified covering, if any, and gently settle it.
- Put the container in the recommended germination location.
- Check daily for emerging shoots, dryness and excess moisture.
The Cat Ladies' growing directions illustrate why product-specific instructions matter: their kit uses a small amount of covering medium and moves into light after sprouting. Do not copy its water quantity into a different pot. If your kit uses a temporary cover, remove it when instructed and never leave plastic accessible to the cat.
Keep the pot somewhere warm enough for the seed's requirements, but away from heaters and other places where the medium dries abruptly. A kitchen counter that is convenient for you may also be convenient for a cat to dig in.

A closed room or an inaccessible shelf can protect the crop until the roots hold together.
If nothing emerges, check the packet's expected germination window before starting over. Then review the seed age, moisture and temperature. Digging up the seed every day adds disturbance without telling you much. With a small inexpensive crop, starting a second clean batch may be more useful than repeatedly flooding an unsuccessful one.
Use growth stages instead of a fixed watering calendar
| Stage | What to look for | What to do |
|---|---|---|
| Sowing day | Evenly distributed seed and correctly prepared medium | Record the kit, date and initial water quantity |
| Before emergence | Moist medium without standing water or deterioration | Keep the crop protected; inspect without repeatedly digging it up |
| First shoots | New upright growth | Remove any temporary cover as directed and provide the specified light |
| Established blades | Healthy growth anchored by roots | Begin a short supervised offering rather than granting automatic access |
| After repeated use | Remaining healthy blades and a clean root area | Continue care or replace according to condition |
An example helps separate delay from failure: if shoots have emerged but lean strongly toward one dim window, adding more seed does not address the light problem. If no shoots appear and the medium is saturated, extra water is equally unlikely to help. Check the condition that matches the observation.
For a two-pot routine, note when your first crop becomes usable and when it declines. Start the second pot early enough for its observed growing time, rather than assuming a universal weekly schedule. Keep the next crop protected even if the first pot needs to be discarded sooner than expected.
Move seedlings into light and offer the pot

Imperial Cat Easy Grow Oat Grass Seeds suit a fresh batch in an appropriate container and growing medium. Follow the packet for sowing rather than spreading extra seed to compensate for a failing earlier crop.
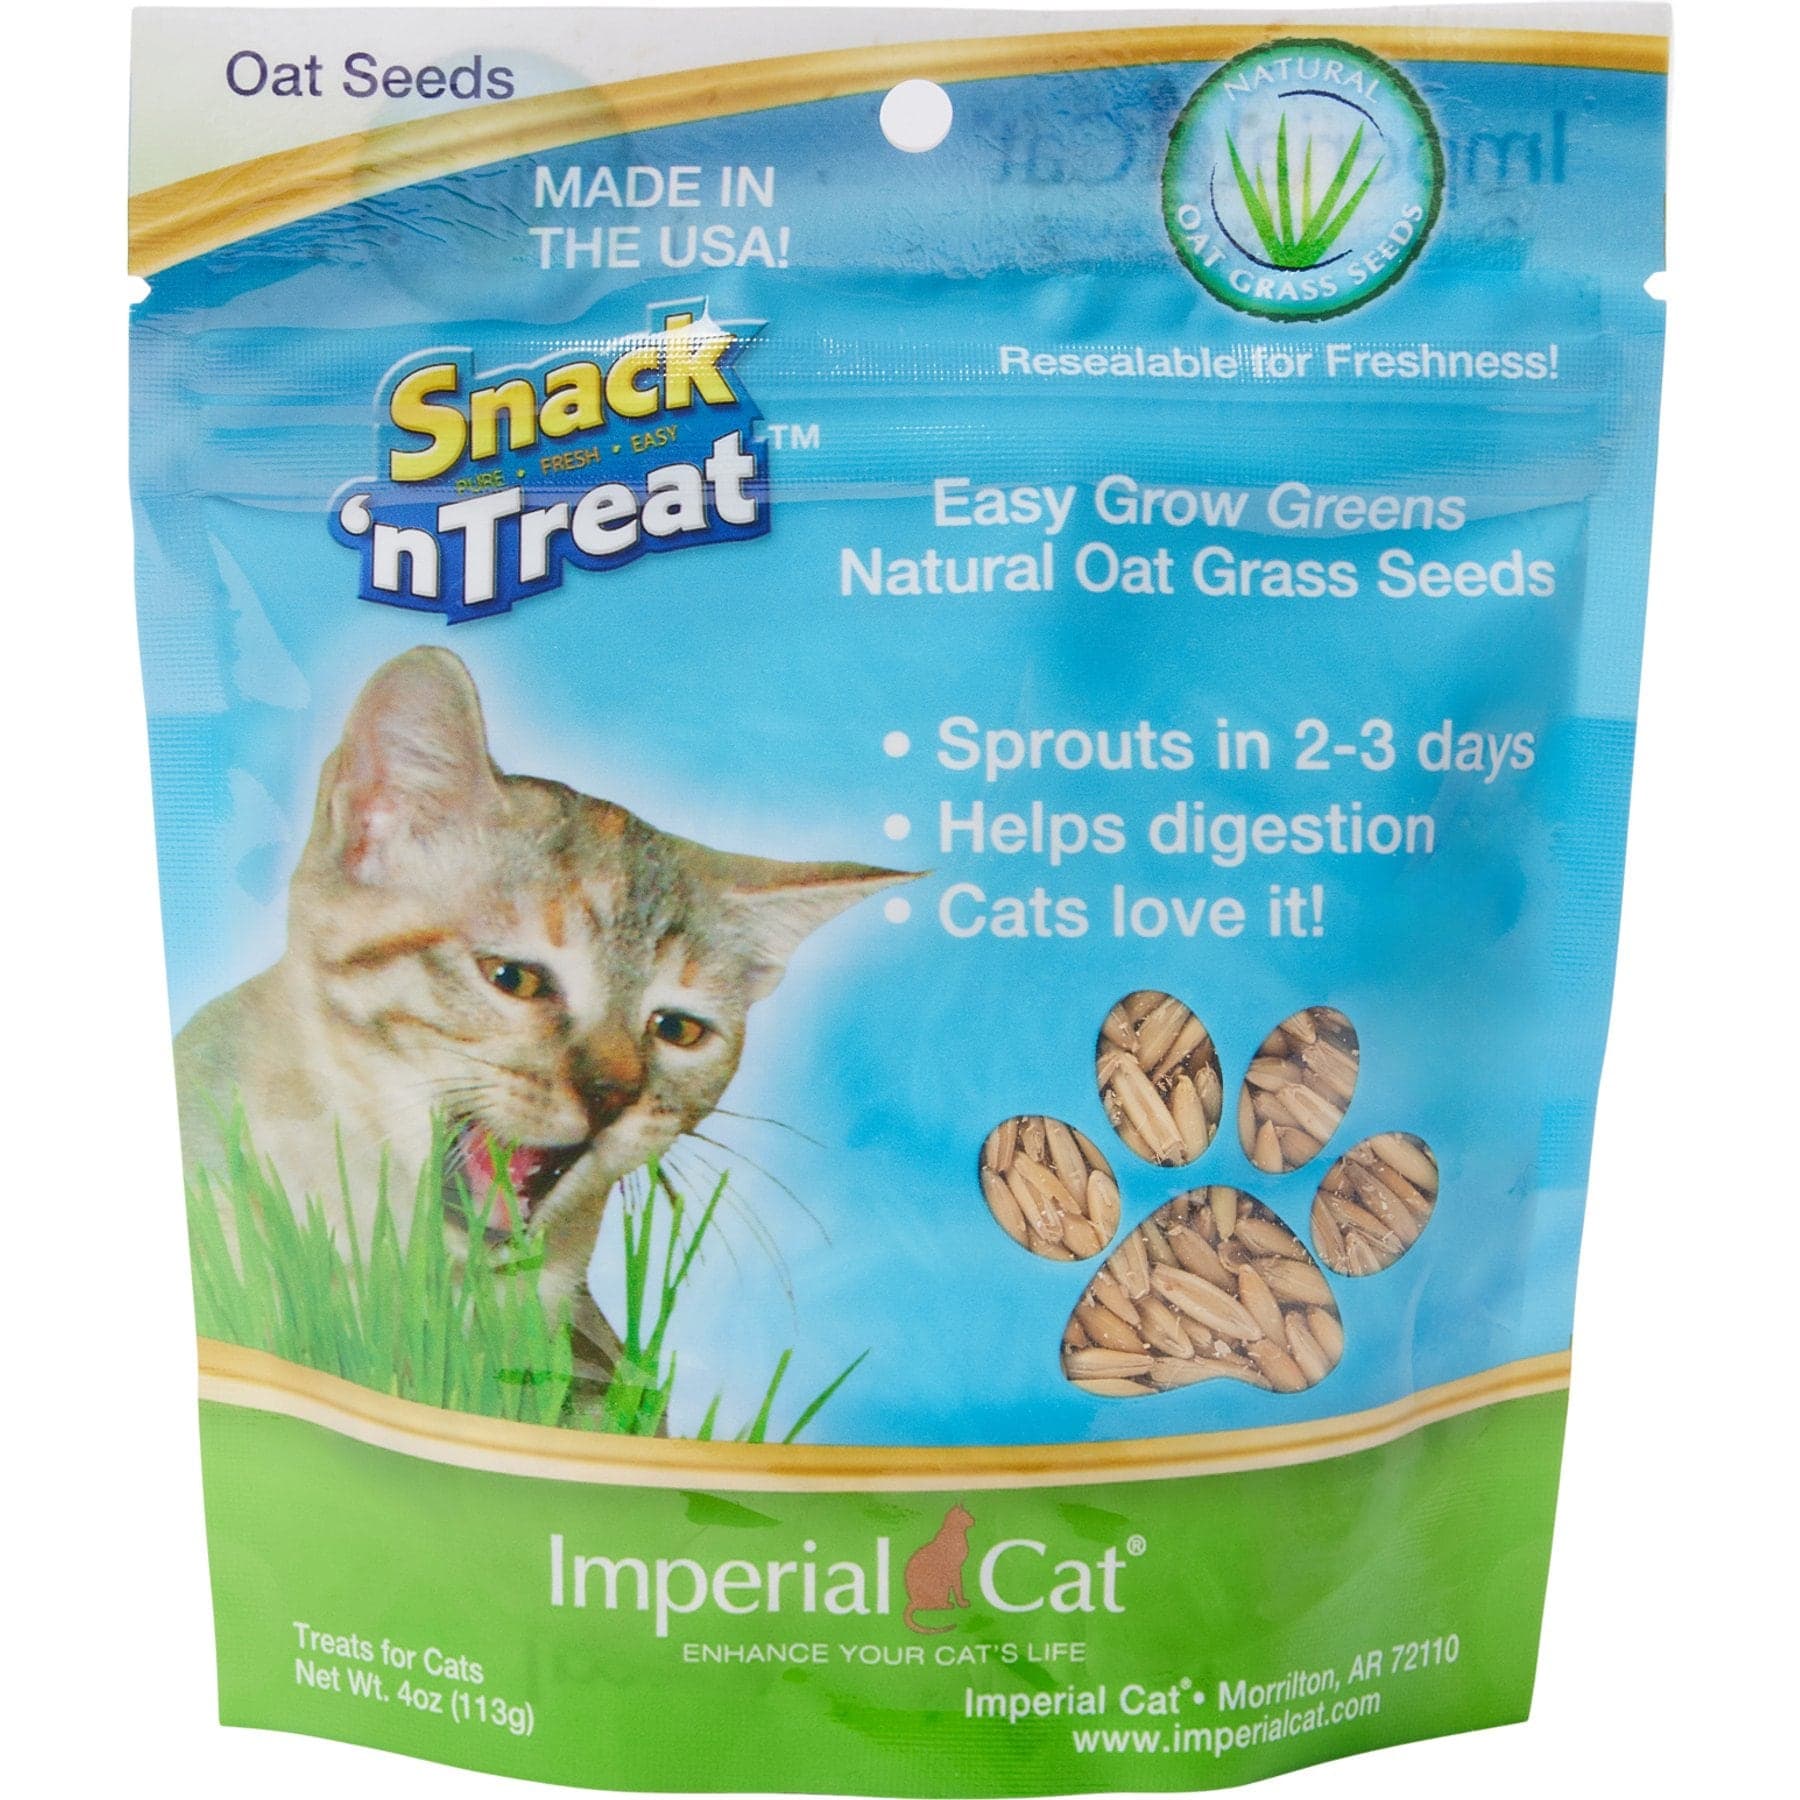
Oat-grass seeds for sowing a replacement tray. Use a suitable container and follow the seed-growing directions.
Webvet may earn a commission when you click through to Chewy, at no extra cost to you.
After germination, move the grass into suitable light as the instructions direct. Watch both the blades and the medium. A bright window can support growth, but strong sun through glass may heat and dry a small pot quickly.
Rotate the container if growth leans toward the light, without moving it through radically different conditions every day.
Grass is ready to offer when it has healthy blades and an established root mat, rather than a few newly emerged shoots that pull out with the seed. Some kits describe readiness within roughly a week under their stated conditions. Treat that as a product estimate, not a deadline.
- A cool or dim home may take longer.

- Use a short first offering:
- Set the pot on a stable surface with a washable tray.
- Let the cat approach voluntarily.
- Watch for nibbling versus pulling up roots or eating medium.
- Remove the pot if it becomes a digging or tipping game.
- Return it to its growing location after the trial.
Do not hold blades against the cat's mouth. A cat that ignores grass does not need persuasion. It may prefer a game or food-search activity instead; our established toys for bored indoor cats guide compares those options.
Water when the growing medium needs it. Check the surface and the pot's condition rather than automatically adding water because another day has passed. Drain surplus water, and inspect the bottom as well as the visible blades. A green top can hide a persistently wet base.

How to keep cat grass alive while it is growing
Keep the crop in suitable light and check the growing medium before watering. Moisture, healthy roots and a stable container support usable growth; they cannot make a short-lived cereal-grass crop permanent. Remove deterioration rather than keeping a failing pot available simply because some blades remain green.
Make watering repeatable in your home
Use the same small watering container for the first batch so you can recognize how much the pot absorbs. Add water gradually and observe whether it drains or collects.
Record the conditions when the pot dries unusually quickly, such as a hot afternoon by the window, rather than immediately adopting that day's quantity as a permanent rule.
If several people care for the cat, agree who checks the grass. Two well-meaning people watering an already moist pot can create a problem that neither sees individually. A simple note beside the growing supplies can prevent duplication without turning plant care into a complicated schedule.
Fix common growing problems
Use this moisture-first troubleshooting table to distinguish dry grass, persistently wet medium and an exhausted crop before adding more water. A drooping blade is only an observation; checking the medium and crop condition identifies whether watering, changing the growing conditions or starting a fresh pot is the sensible next action.
The Cat Ladies Grass Refill Kit can supply a replacement batch. Follow the refill directions and inspect the old container before reuse; exhausted or moldy growth is not improved simply by adding more seed.
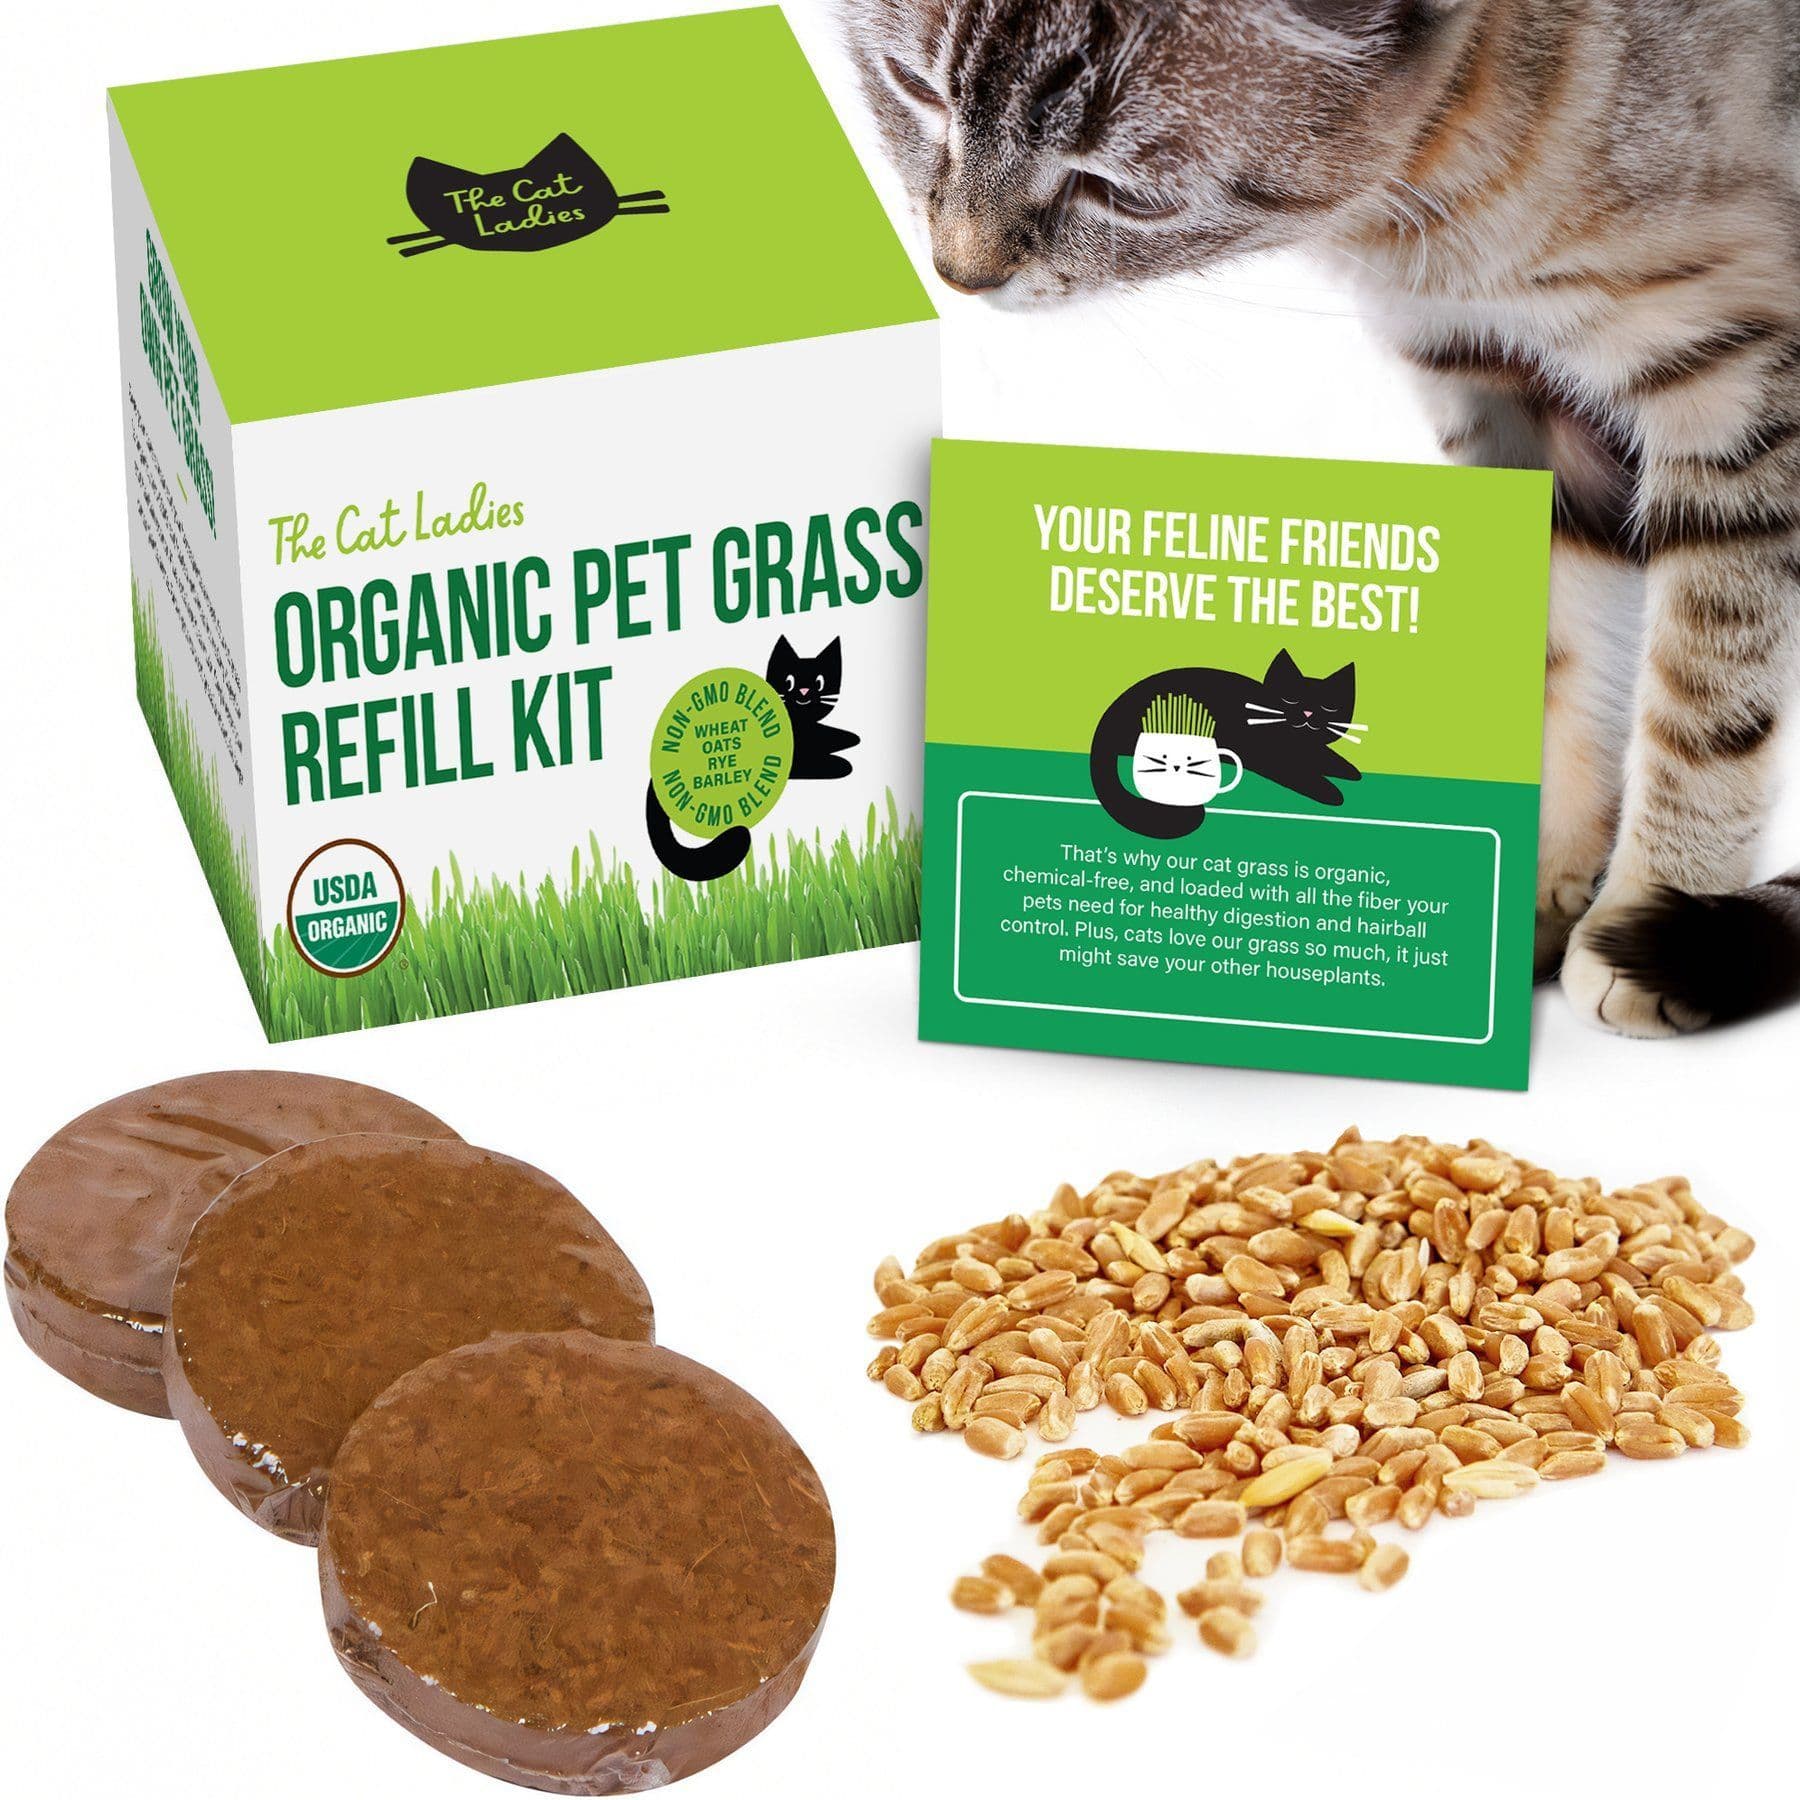
A pet-grass refill kit for starting another tray when an older planting needs replacing.
Webvet may earn a commission when you click through to Chewy, at no extra cost to you.
First decide whether the problem is dryness, excess moisture, insufficient light or an aging crop. These require different responses. Adding water to every unhappy-looking pot can make a wet pot worse.
| Observation | What to check | Practical next step |
|---|---|---|
| Dry medium and drooping blades | Missed watering or strong heat | Water appropriately and move away from excess heat |
| Wet medium with deterioration | Drainage and water collecting below | Remove standing water; discard a moldy or decaying crop |
| Long leaning growth | Light direction and intensity | Improve suitable light and rotate the pot |
| Seeds lifted out during nibbling | Root establishment and access timing | Protect the next batch longer before offering |
| Old yellowing blades after repeated use | Crop age and remaining healthy growth | Start a new batch rather than adding fertilizer |
Fine root hairs near germinating seeds can be mistaken for mold. Do not make a safety decision from a vague description alone. If there is spreading fuzzy growth, deterioration, an unusual odor or uncertainty about the pot's condition, remove it from the cat and replace the crop.

- Wash the container and tray before reuse. Discard old medium rather than sowing fresh seed into a dirty, exhausted mat. Let reusable equipment dry, and keep the next batch away from the questionable one while you clean up.

- If your cat vomits after grass, stop offering it and address the cat's response separately from the gardening problem. The cat-grass safety discussion explains when veterinary advice matters. Healthy-looking grass does not prove that eating it suits a particular cat.
Should a failing pot be rescued or replaced?
A dry pot with firm green blades and no decay is a different case from a wet pot with a sour smell. Water the first according to its method and reassess; remove the second and restart cleanly. Do not combine old medium with fresh seed to hide the problem.
Replace tired grass and start the next batch
How long does cat grass last?
The Cat Ladies estimates that its cat grass typically lasts 3–6 weeks with proper care. Use that as a planning example for a replacement pot, not a guarantee for every crop; growing conditions and chewing can shorten its useful life.
The useful lifespan depends on the crop, light, watering and how heavily your cat chews it. Judge the living grass rather than a calendar promise: firm healthy blades and a clean medium support continued use; deterioration, a bad smell or persistent yellowing support replacement.
Starting a second small pot gives you a fresh option without trying to rescue every old one.
Keep replacement pots ready
Small indoor grass crops often decline after repeated chewing, cutting and limited growing space. Some blades may regrow, but a pot is not guaranteed to recover indefinitely. Replacing it is normal maintenance, not evidence that you failed to grow it correctly.
If your cat enjoys grass, use two containers on different schedules. Start the next one while the current pot still has healthy growth. The overlap reduces pressure to offer a newly sprouted or deteriorating crop simply because there is no other pot ready.
Keep a short note for your first two batches:
- Seed or kit used and sowing date.
- Approximate time to emergence and first offering.
- Location and how often the medium actually needed water.
- Whether the cat nibbled neatly, ignored it or pulled it apart.
- When the crop began to deteriorate.

That record helps you adjust the setup to your home. It does not need to become a gardening project. If the plant never interests your cat, stop growing it and choose another activity. Signs of boredom are better assessed through behavior and context than by counting enrichment purchases.
A catio offers another controlled way to experience the outdoors, but outdoor access introduces separate enclosure and weather decisions. Keep grass-growing advice focused on a clean, manageable indoor crop. If the cat seems unsettled more broadly, assess household resources and stress relief rather than expecting the pot to solve the environment.
Questions about how to grow cat grass
Frequently Asked Questions
Does cat grass regrow after cutting?
Some growth may return if the roots and remaining blades are healthy. Repeated cutting or chewing can exhaust a small pot. Replace deteriorating grass rather than assuming every batch should regrow indefinitely.
Is there a way to keep cat grass alive?
Appropriate light, moisture control, drainage and protection from heavy disturbance can extend useful growth. They cannot guarantee a permanent crop. Start replacement pots if your cat enjoys regular access.
How long does it take for cat grass to start growing?
For a concrete kit example, The Cat Ladies FAQ describes sprouts in a few days and grass reaching about 4 inches in 4–7 days. That is the maker's estimate for its growing system, not a guarantee for every seed or room. Follow your kit's directions and offer only healthy, established growth with roots holding the medium together.
Is it hard to grow cat grass?
A small kit can be straightforward because the components and directions are matched. The main practical challenges are overwatering, limited light and letting the cat disturb the seeds before the crop is rooted.
Can I leave cat grass out all the time?
First supervise enough to learn how your cat uses it. A cat that overturns the pot, eats medium or gulps grass should not have unrestricted access. Inspect any available pot daily and remove it when unhealthy.
What is the best container to grow cat grass in?
Choose a clean stable container that makes moisture easy to manage and lets the cat reach the blades. Drainage with a catch tray is useful, provided collected water is emptied. A heavy outer pot can improve stability around a removable inner growing pot.

Editor
The Webvet Editorial Team is the in-house group of pet-care editors and writers behind Webvet, operated by Smart Pet Collective. The team researches, writes, and maintains Webvet's pet health, behavior, and medication content. Every article follows a defined editorial process: research from reputable veterinary and scientific sources, careful drafting, mandatory review of medical content by a credentialed veterinarian, and dated publication. Health and medication articles are medically reviewed by a licensed veterinary professional before they go live and are kept current over time.


