DIY Catio Plans: Build a Secure Outdoor Cat Enclosure
A practical DIY catio begins with the site and a complete plan. Work through costs, construction order, materials and a six-boundary inspection before the first visit.

This article contains affiliate links. Webvet may earn a commission when you buy through them, at no extra cost to you.
A DIY catio works best when you choose a plan for the actual site before buying timber or mesh. The enclosure needs a secure roof, walls, ground boundary, door and connection to the home. A structure that looks finished can still have an escape gap at one of those junctions.
Start with a manageable design and a complete material list. Building can save some costs when you already have tools and relevant skills, but custom attachment work, weather protection and mistakes can erase the difference. Get help when the project depends on structural support or modifications you cannot confidently assess.
Choose a DIY catio plan for the site
A do-it-yourself catio needs a plan you can follow and inspect, not just a photograph to copy. Compare the full drawing, materials list, supports and access details before selecting the project.
Which plan fits the site and skill level?
Choose a plan whose specified materials, supports and connection details you can execute with your tools and experience. A straightforward ground-level box differs from an elevated window structure. Match the drawing to the actual site, and budget for professional help wherever the plan requires work you cannot confidently inspect.
Aivituvin Catio Outdoor Cat House provides a manufactured-product comparison for the complete DIY budget: compare installation, site preparation and usable space before deciding which route to take.
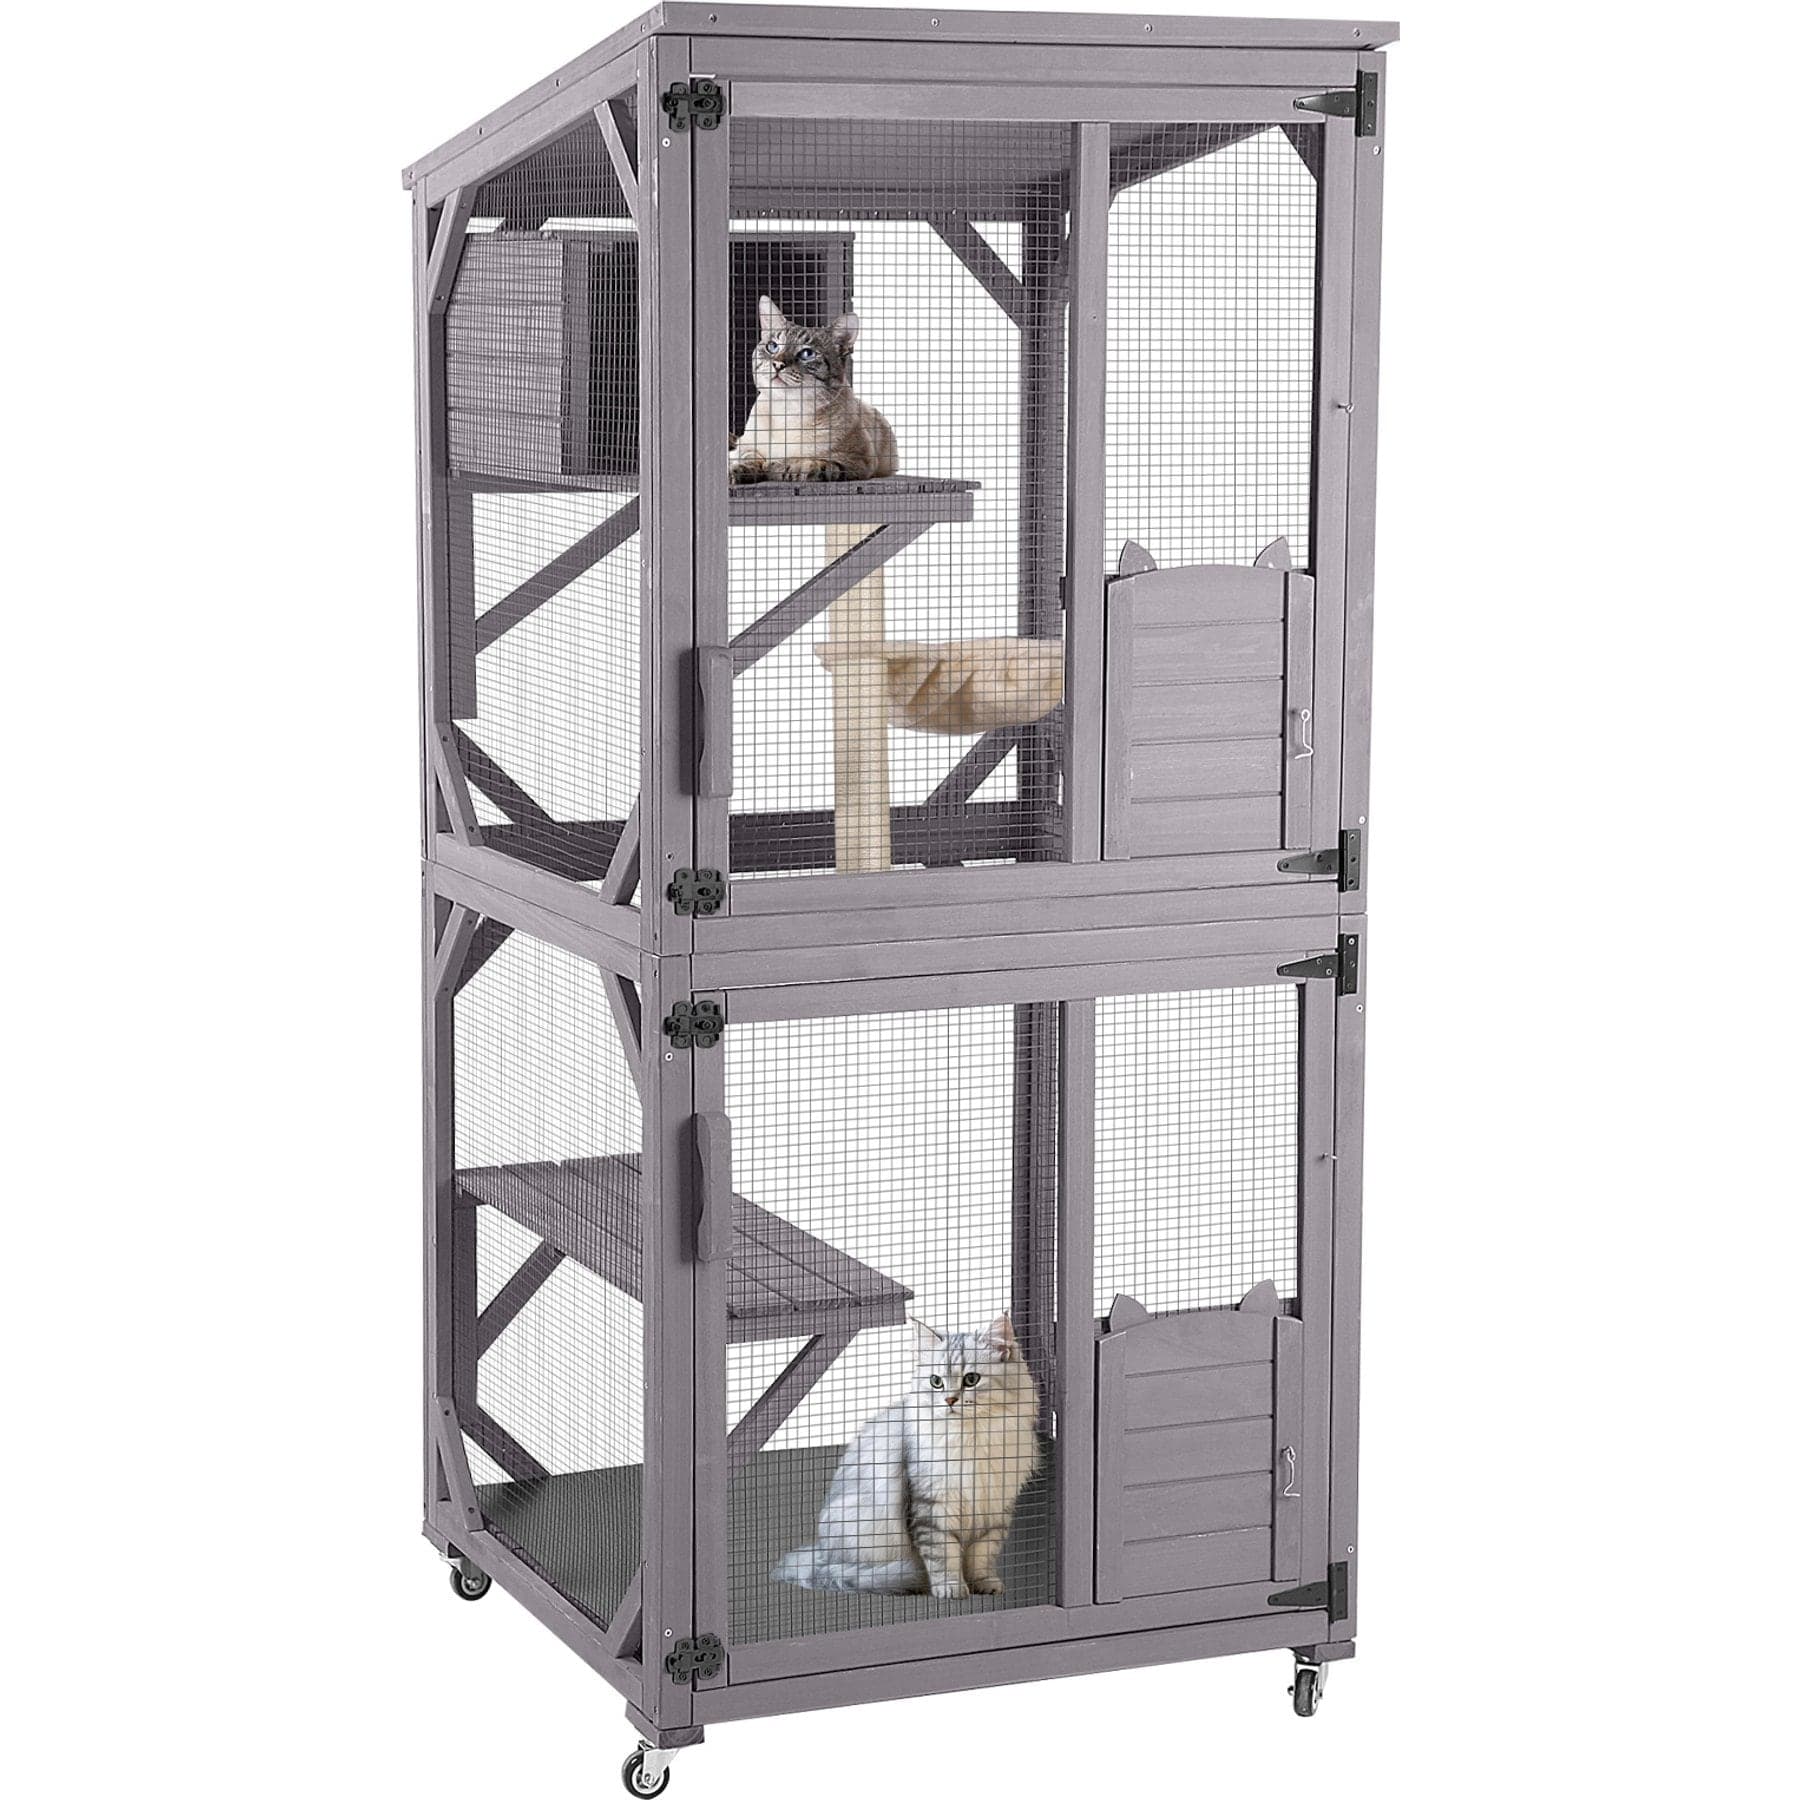
A wood-framed option to compare against your measured space and cleaning-access needs.
Webvet may earn a commission when you click through to Chewy, at no extra cost to you.
Choose a plan that fits your site, price the whole project, and inspect every enclosure boundary before allowing access. Do not treat chicken wire, an insect screen or an improvised window attachment as a substitute for a properly designed cat enclosure.
Learning how to build a catio starts with a complete plan for the actual site. Useful catio blueprints show the dimensions, supports, door construction, mesh attachment, roof and access connection together. A photograph of a finished enclosure is inspiration; it does not supply those construction details.
Before using free catio design plans, check whether they include a cut list, material specifications, assembly sequence and clear connection details. Paid catio building plans need the same scrutiny. An easy design is one you can execute and inspect with your tools and experience, not simply the smallest structure or the fewest pages.
If a plan leaves a load-bearing detail unexplained, resolve it with a qualified builder rather than improvising at the wall.
Compare free catio plans with a paid building plan
To learn how to make a catio, choose the access route and site first, then select a complete plan that fits them. Build its specified enclosure and connection, inspect every boundary, and introduce the cat voluntarily. The decisions below explain what to compare before cutting materials.
Choose a drawing you can actually build from: a shopping list, cut dimensions, assembly sequence and a defined connection to the house. A free download can supply those details. Paying for a plan may add layout choices and clearer diagrams, but neither price nor popularity verifies your site.
| Plan | What you get | Best starting situation | Extra work to price |
|---|---|---|---|
| BC SPCA Window Catio – free PDF | Window-box diagrams and materials list | A compact lookout with suitable exterior attachment | Building connection, weatherproofing and safe installation access |
| BC SPCA Stand-Alone Catio – free PDF | Enclosure and separate tunnel construction guidance | Ground-level space with a planned route from home | Base preparation, tunnel and any new cat-door work |
| Catio Spaces Haven – paid PDF | 3-by-6 or 4-by-8-foot three-sided design | Garden, patio or deck beside a suitable building wall | Materials, site preparation and connection; plan is not a kit |
| Catio Spaces Oasis & Tunnel – paid PDF | 8-by-8 or 8-by-10-foot four-sided design with tunnel | A larger separate space with room for people | Longer access route, larger footprint and complete materials |
BC SPCA’s free window plan lists wall framing, separate support-bracket lumber, plywood floor and roof, and corrosion-resistant mesh. It explicitly treats its measurements as examples. Establish suitable building support before using the drawing; enlarging the box changes what its connections must support.
BC SPCA’s free stand-alone plan separates the enclosure from its tunnel materials. That distinction matters when comparing costs: a garden enclosure can be inexpensive until a long, supported route or new opening is added.
Catio Spaces’ plan comparison lists Haven at $49.95 and Oasis & Tunnel at $69.95 when checked. Those are downloadable-plan prices, not completed-catios or materials quotes. Choose the footprint and access arrangement first, then obtain the full list before ordering lumber.

Turn the materials list into a buying list
For mesh, record both opening size and wire specification, plus the required attachment method. The BC SPCA example uses 1-by-1-inch stainless or galvanized mesh. That example does not certify containment for a kitten or every cat; resolve opening size and edge details for the actual occupant and design.
For timber and roofing, record lengths and quantities before comparing prices. A nominal board size does not tell you how many usable pieces its cuts yield. Keep offcuts, overlaps, roof fasteners and finish in the calculation. Have a qualified builder resolve changes to spans, anchoring or roof loads.
Plan the route into the enclosure
The first choice is how your cat will reach the enclosure and return indoors. A small window box can provide a viewing perch. A larger ground-level catio can offer shelves and space for you to enter.
A freestanding structure may need a secure tunnel or a supervised way to move the cat between home and enclosure.
The Coziwow Configurable Catio Tunnel below is an optional prefabricated access module. Use it only if its connection dimensions and support requirements match the selected enclosure plan; it is not a universal window connector.
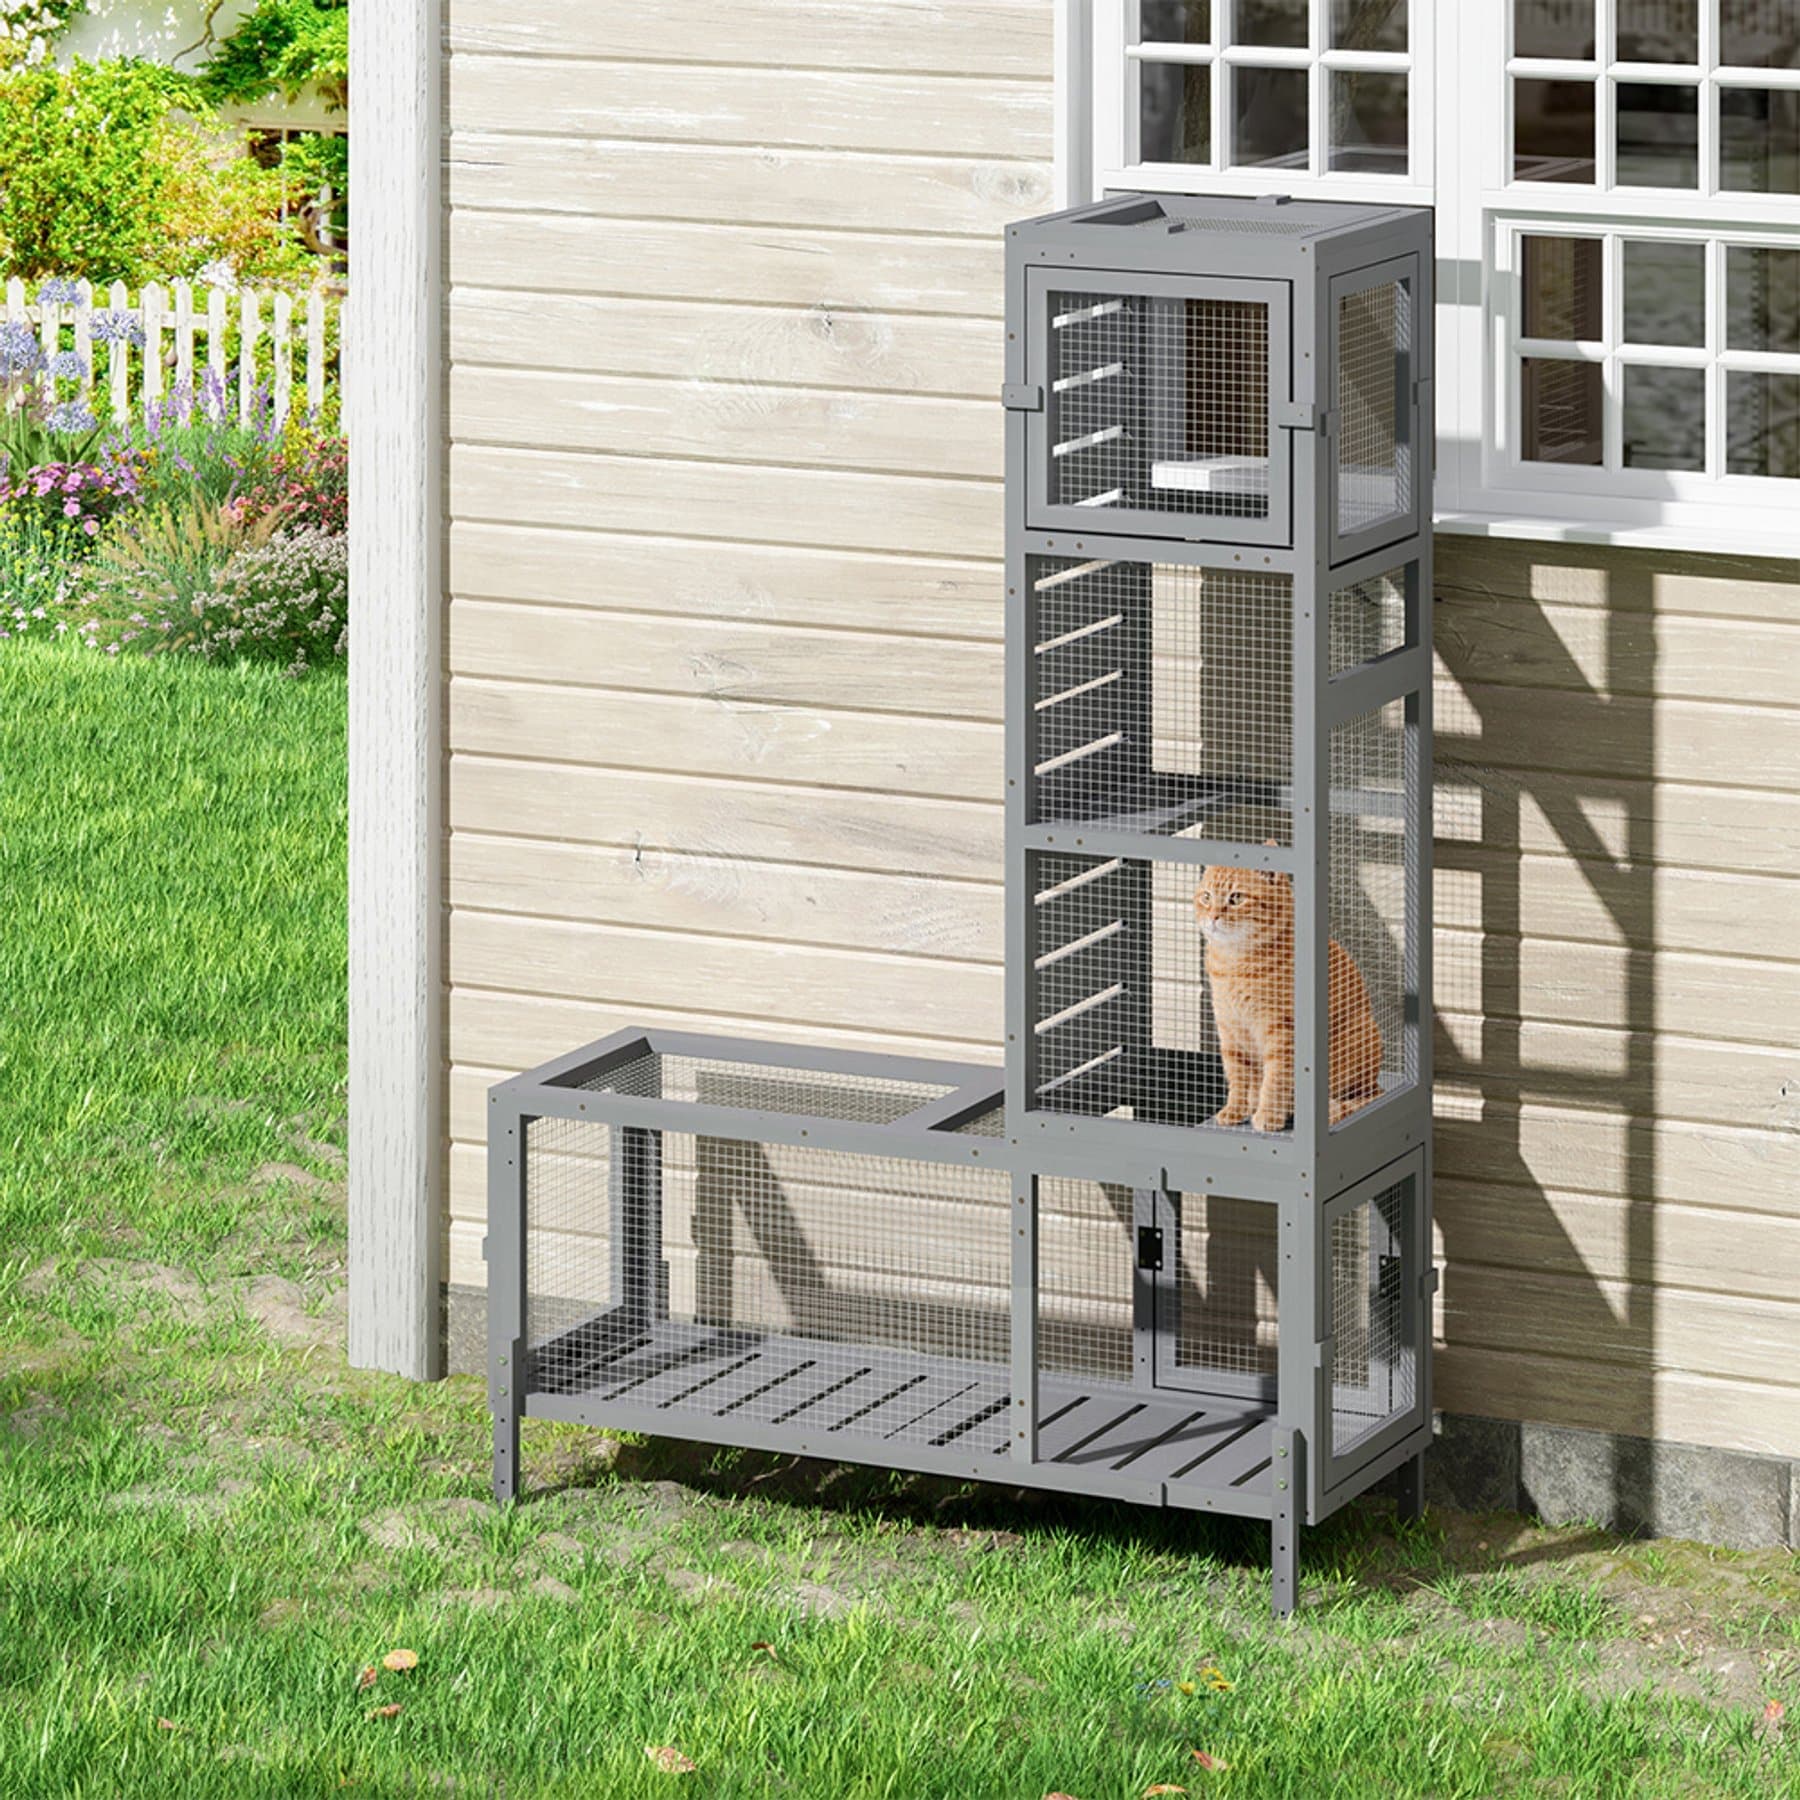
Compare the tunnel dimensions and connection requirements before adding a route from a window to an enclosure.
Webvet may earn a commission when you click through to Chewy, at no extra cost to you.
- Our catio guide compares the main enclosure types. If your main constraint is a window, use the window-catio guide to assess the opening, attachment area and permission before selecting a construction plan. Do not build a box first and hope it will fit later.
- Check the location in ordinary use, not only while standing in an empty yard:

- Does it interfere with a door, emergency exit, walkway or maintenance access?
- What happens there during strong sun, rain and wind?
- Can you reach the inside for cleaning and retrieval?
- Is the base level and suitable for the planned structure?
- Can you attach the enclosure without damaging the building or leaving gaps?
For a rental, condominium or shared building, obtain the relevant permission before buying materials or drilling. A removable-looking structure may still alter an exterior wall or shared space. For elevated window boxes, structural support and safe installation access are especially important; do not improvise brackets from a generic internet photograph.
Catio Spaces offers purpose-designed DIY plans with different enclosure forms. A plan is a starting point for a particular design, not evidence that every variation will suit your home. Read the full materials and attachment requirements before substituting dimensions or deleting components.
Balcony and lightweight-material ideas
A DIY catio for an apartment balcony needs the building owner's permission and a design that respects the balcony's load, access and attachment limits. Do not assume railing height, a privacy screen or a net draped over furniture provides complete containment. A ground-level plan cannot simply be moved upstairs.
For outdoor catio ideas, begin with the simplest complete shape that suits the site. A small rectangular enclosure can be easier to inspect than a maze of narrow connections. Cheap DIY ideas should reduce unnecessary size and decorative work, while retaining the roof, secure door, base and continuous mesh.
- PVC pipe may appear in lightweight enclosure plans, but the joints, bracing, mesh attachment, sun exposure and anchoring remain design questions. Use a complete plan that specifies the material; do not substitute pipe for structural timber by eye.
- Reclaimed pallets or indoor IKEA furniture bring unknown treatment, condition and outdoor durability. Inspect materials and use a design intended for them. A familiar brand or low material price does not validate an improvised enclosure.
If you want to build your own window catio, the plan must address support as well as access. Instructions for how to build a window catio need to show how its load reaches a suitable structure and how the window junction closes every escape gap.
Price the complete build before buying materials
What belongs in the full DIY budget?
A removable Frisco Collapsible Travel Bowl can provide water during supervised visits. Set it on a stable accessible surface and take it indoors for cleaning after use.
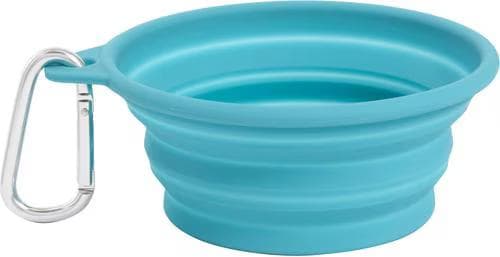
A removable collapsible bowl for supervised visits; place it on a stable surface and clean it after use.
Webvet may earn a commission when you click through to Chewy, at no extra cost to you.
The full budget includes the frame, mesh, roof, base preparation, doors, latches, access connection, fasteners, delivery, tools and any skilled help. Price those together before calling a build cheaper than a kit. Leave room for a site problem discovered during preparation, rather than removing a containment feature to cover it.
| Budget line | Include these items | Common omission |
|---|---|---|
| Structure | Framing, appropriate mesh, fasteners and connectors | Enough material for the roof and ground boundary |
| Access | Human door, reliable latch and cat connection | A way to close access during maintenance |
| Site preparation | Level base and appropriate support | Drainage or attachment work |
| Weather protection | Shade and rain protection suited to the plan | Changes needed for the local site |
| Interior | Accessible resting surfaces and traction | Safe descent for an older cat |
| Tools and help | Cutting, drilling, protective equipment and skilled labor | Delivery, waste and replacement materials |
A smaller complete enclosure is usually a better starting project than a large unfinished one. Save money by reducing complexity, comparing local material quotes and reusing only materials whose condition and suitability you can establish.
Do not save money by removing the roof, weakening the door or relying on a gap you think the cat cannot fit through.
Reusing an existing structure
If you already own a chicken coop, assess it as a structure rather than assuming the label makes it suitable. Check access, cleanability, materials, deterioration, openings and the ability to furnish it for a cat. A coop conversion may need so much work that a purpose-designed enclosure is the simpler choice.
Keep a contingency in the budget for discoveries after measuring and preparing the site. If that contingency is the difference between a finished secure enclosure and a half-built one, reduce the size before starting. A catio should not depend on a future repair to become usable.
Decide what you can build yourself
Separate repeatable workshop tasks from site-specific work. Cutting panels to a supplied list, painting suitable surfaces and assembling a documented frame may be manageable with your existing skills. Deciding how an elevated structure transfers weight to a building is a different task.
You can still complete much of a DIY project while paying for the part that needs professional judgment.
- Before ordering materials, write down any unresolved connection: wall to frame, frame to ground, roof to frame or tunnel to enclosure. Take those questions and the selected plan to the person advising you. A specific drawing and measurements make that conversation more useful than asking whether “a few brackets” will be enough.
- Keep the cat out of the work area until tools, offcuts, loose fasteners and coatings are dealt with according to their instructions. Finish one safe work session at a time rather than leaving partially attached mesh or an open access route overnight.
Plan enrichment for the finished enclosure
A Frisco Bird Teaser Wand supports supervised play once the cat is comfortable in the completed enclosure. Allow a catch, keep the route clear and put the wand away afterward.
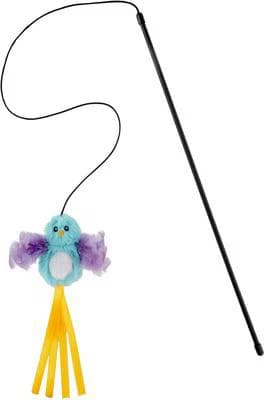
A bird teaser for supervised stalking and catching games. Put the wand away after play.
Webvet may earn a commission when you click through to Chewy, at no extra cost to you.
Worked budget: price the same design before comparing a kit
PETA’s free catio booklet provides a concrete shopping list, including forty 2-by-2-by-8-foot boards, a separate shelf board, mesh, hardware and an optional solid roof. Use the complete drawing for quantities; the example below demonstrates budgeting, not structural design.
Here is an illustrative worksheet, not current retail pricing. Suppose suitable framing boards are quoted locally at $6 each. Replace every allowance below with quotes for the exact materials your selected plan requires; a mesh allowance alone does not specify how much mesh to buy.
| Cost line | Illustrative calculation | Allowance |
|---|---|---|
| Forty framing boards | 40 × $6 | $240 |
| Shelf timber | Separate allowance | $25 |
| Mesh and edge-finishing materials | Price the specified area and attachments | $150 |
| Roof and its fasteners | Solid-roof option allowance | $180 |
| Door hardware, screws and remaining fixings | Full list, not only the latch | $80 |
| Suitable finish and consumables | Allowance | $45 |
| Materials subtotal | 240 + 25 + 150 + 180 + 80 + 45 | $720 |
| Contingency | 15% of $720 | $108 |
| Illustrative materials budget | Before exclusions below | $828 |

This example excludes tax, delivery, tools, base preparation, house access and paid labor. If local quotes add $180 for the base and $220 for access, the comparison becomes $1,228 before the other exclusions. Omitting those two jobs would understate this example by $400.
Compare that completed scope with a kit quote including delivery, base, access and assembly. DIY is cheaper only when its full total is lower and the required work is realistic for you. Reusing sound tools can save money; omitting the roof boundary, secure door or correct mesh cannot.
Build the enclosure in a safe sequence

Follow the selected plan's construction and fastening details. The following sequence is a project checklist, not a structural drawing or a universal material specification. Timber dimensions, fasteners and mounting methods must match the design, site and loads.
- Prepare the site and confirm measurements. Check clearances again before cutting. Mark where doors, supports and house connections will sit.
- Build and secure the frame. Work on a stable surface and confirm that panels align before adding the enclosure material.
- Install the mesh and cover cut edges. Follow the plan's fixing pattern. Check corners and panel joints, not only the middle of each wall.
- Complete the roof and ground boundary. Cats climb, and a boundary that stops at ground level may still leave a route beneath it.
- Fit doors, latches and the home connection. Test them repeatedly with no cat present.
- Add furnishings and inspect the completed space. Leave usable floor and access routes rather than filling every corner.
Choose enclosure material deliberately
Do not use ordinary insect screening as the main containment barrier. It is designed for a different job. Lightweight chicken wire is also a poor default: the finished strength depends on the wire, frame, fastening and exposure, not merely whether an opening looks small.
Use the mesh specified by a reputable catio plan or qualified builder and confirm suitability for your cat and local conditions. Ask about corrosion resistance, opening size and secure attachment. A generic recommendation for one wire gauge cannot certify every enclosure, especially where wildlife or severe weather affects the design.

Best Friends' catio guidance stresses complete containment and practical access. Keep sharp edges covered and inspect from the cat's height. A screw tip or rough cut that is easy to overlook while standing may sit exactly where a cat rubs or climbs.
Keep the interior accessible
Plan broad resting surfaces with a route down as well as up. Avoid arranging shelves so a cat must make a long leap onto a narrow landing. For detailed route decisions, use our cat wall-shelf guide while checking that any furnishings used outdoors are suitable for that exposure.
Do not use your cat as the test load for a new platform or partially assembled enclosure. Complete the work, remove tools and debris, and resolve any movement or uncertainty before introduction. When attachment strength is uncertain, a competent builder's assessment is more useful than encouraging the cat to “try it carefully.”
Inspect the catio before the first visit
A six-boundary enclosure inspection makes the pre-use decision explicit. A visually finished build can still have a missed house junction or ground edge. Check the roof, walls, ground, door, cat entry and every connection before allowing access; appearance alone does not establish continuous containment.
Walk around the outside, then examine the interior. Treat the enclosure as six connected boundaries: roof, walls, ground, human door, cat entry and the junction with the house or tunnel. A failure in any one can defeat the rest of the build.
- Roof: confirm continuity, attachment and the planned weather protection.
- Walls: check mesh edges, corners and panel connections.
- Ground: look beneath the frame and around changes in surface level.
- Door: confirm it closes fully and the latch stays secure.
- Cat entry: check that access can be controlled when necessary.
- Connections: inspect every transition for gaps, movement and exposed edges.

Test opening the human door while cat access is closed. Think through how you would retrieve a reluctant cat without leaving another opening unsecured. Put cleaning access, a water check and a quick pre-visit inspection into the routine from the beginning.

Introduce the completed enclosure with the cat free to approach and retreat. Start in comfortable weather, stay nearby and keep the first visit brief. Do not carry a frightened cat into the space and close the route back. For broader environmental concerns, use cat stress relief; the enclosure itself does not guarantee confidence.

After storms, repairs or moving furnishings, inspect again before use. Before ordinary visits, check visible damage, latches and current weather. If the cat already tries to leave the home, pair the project with an escape-prevention plan instead of assuming outdoor access removes the behavior.
Questions about diy catio
Frequently Asked Questions
Is it cheaper to buy or build a catio?
It depends on the complete project. DIY can save money when you have tools, suitable skills and a straightforward site. Include roof, mesh, doors, access, supports, delivery and any skilled help before comparing it with a kit.
How can I make a cheap catio myself?
Choose a smaller simple plan, obtain material quotes and avoid unnecessary decorative features. Keep all containment boundaries, reliable closures and weather protection. Reused materials only save money when their condition and suitability are known.
Can I use chicken wire for my catio?
Do not treat lightweight chicken wire as the default containment material. Use mesh specified for the selected catio design and confirm how it attaches to the frame. The complete assembly matters, not just the size of its holes.
What is the best wire to use for a catio?
Use a mesh system appropriate to the plan, cat and outdoor conditions, with secure fastening and covered edges. A builder or reputable plan supplier can specify the material for that design. There is no single wire description that certifies every structure.
Can I use a chicken coop as a catio?
Only after checking and adapting the whole structure for secure cat access, cleanability, weather protection and suitable furnishings. An existing coop's roof, ground edge, doors and material condition all need inspection. Compare conversion costs with a purpose-designed enclosure.

Editor
The Webvet Editorial Team is the in-house group of pet-care editors and writers behind Webvet, operated by Smart Pet Collective. The team researches, writes, and maintains Webvet's pet health, behavior, and medication content. Every article follows a defined editorial process: research from reputable veterinary and scientific sources, careful drafting, mandatory review of medical content by a credentialed veterinarian, and dated publication. Health and medication articles are medically reviewed by a licensed veterinary professional before they go live and are kept current over time.


